Featured Portfolio
From the Blog
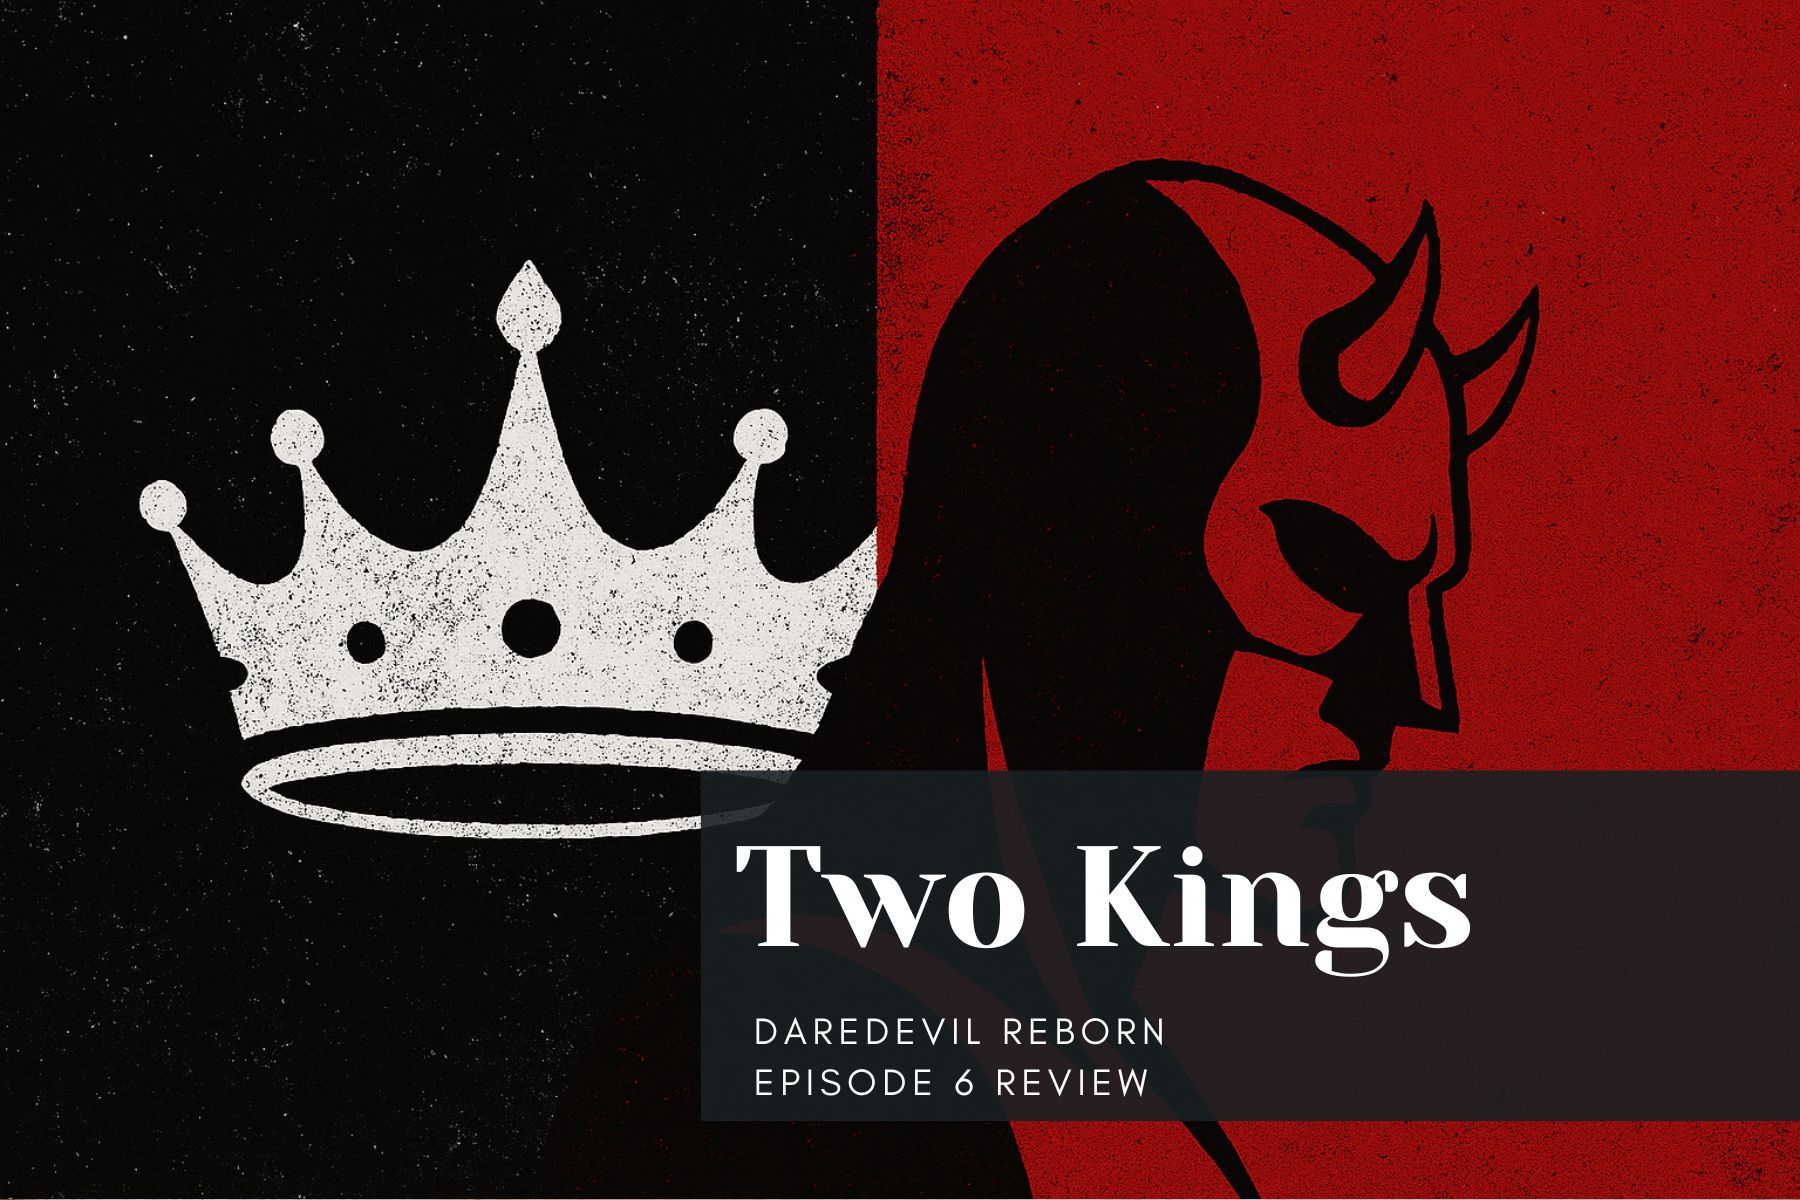
The Devil and the Mayor: Hell’s Kitchen’s Two Kings
Episode 6 isn’t just violent—it’s a goddamn thesis statement. Matt and Fisk both drop the masks and show us exactly who they are. One protects. One conquers. And Muse? He’s the chaos artist who lights the match. “Excessive Force” proves that in Hell’s Kitchen, the fight isn’t over—it’s *just getting honest*.
The Lost Art of the One-Shot: Daredevil Just Schooled the Streaming Era
Born Again’s one-shot fight isn’t just choreography—it’s a character confession wrapped in fists and shadows.
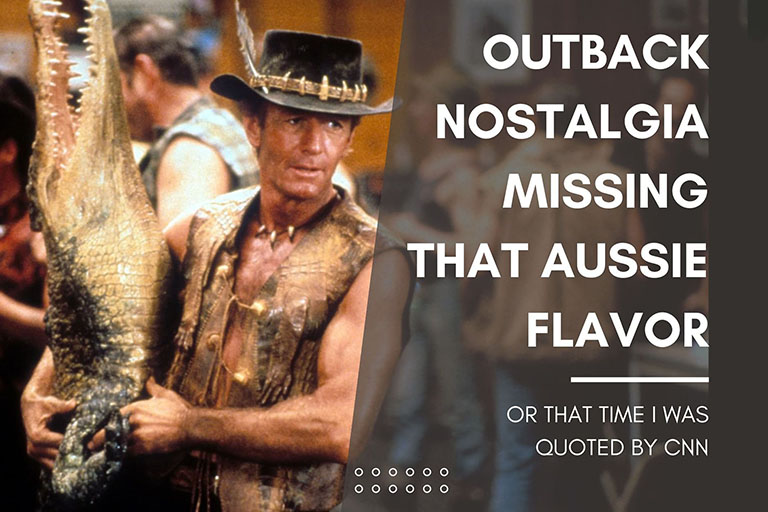
Outback, Binion’s, and the Flavor of Nostalgia
How I accidentally became CNN’s Cajun-seasoning guy